


Ooh, That's A NECK
- ecarrasco3879

- May 20, 2018
- 7 min read
Hey, everyone!
Only a couple more of these reposts left to go! After I'm done with these, then I can talk about the plans what will be happening next with this project.
Note: The following was originally posted by me to the BASIS Tucson North Senior Project page on March 26th, 2018.
Hey everyone,
This past week felt like I got the most progress done so far. Every week before now seemed like minimal progress and was extremely tedious, and was very discouraging because of how long it took to get to this stage (I had planned to get to this point in just two weeks, not the six or so it’s taken), but even though I wanted to quit every day that I was working, Andrew (onsite advisor/mentor guy) kept encouraging me to push onward. Finally, this week, I’ve gotten a lot more excited about the project because I can finally see what the final shape coming together.
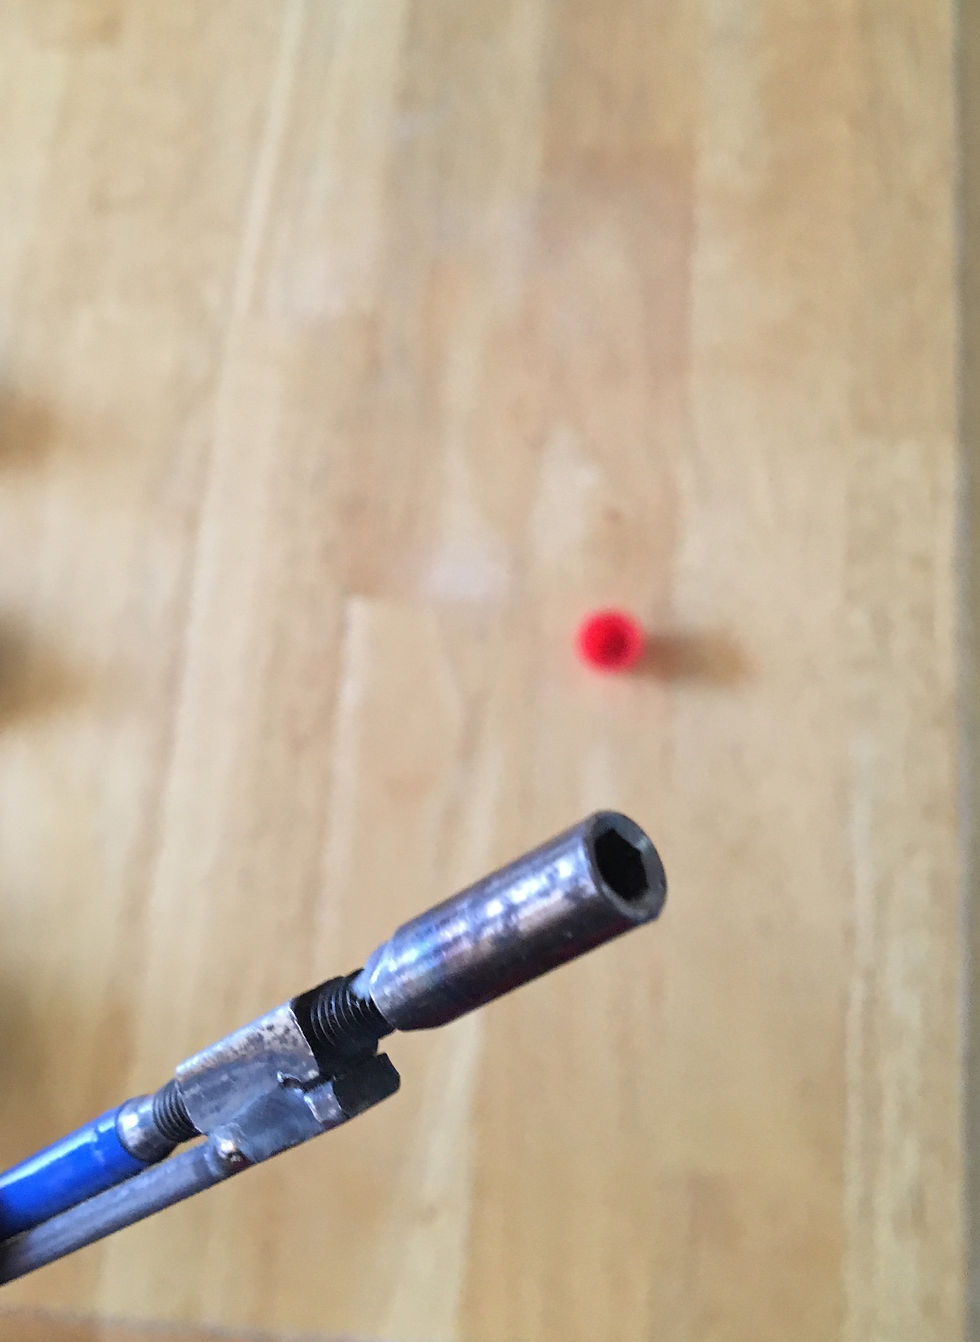
At the start of the week, I was really fed up with my lack of progress, and decided that I was going to finish the neck this week (spoiler alert: it didn’t happen, but, hey, I got pretty close). On the first day, I used the table-mounted router to create the truss rod slot. I found a router bit that was slightly smaller than the rod because I wanted it to be a snug fit, and that’s what you do with screws and bolts on most things. Andrew said nothing about this when I was picking out the bit, probably because he’s got other work to do and is not going to hold my hand through the process. And he shouldn’t; that’s part of how learning skills goes. He did give me a very useful tip about how to get the correct length slot though, and that made me feel a lot better about the routing process. I should clarify; since the router is mounted below the surface of the table, everything you route is UPSIDE DOWN, and since the slot that I was routing was to be in the center of the neck, I was unable to SEE what I was doing, and had to trust that my board wasn’t getting ruined. In other words, this was terrifying to do, as I had spent about a week preparing the board to get to this point.
Andrew had told me that the way he usually does this is by placing blue tape on either end of the router bit in order to see where the blade is at any point in time, and then draw lines from the side of the board with the design on it to the other side (wrap them around). Also, side note: all of these pictures are rotated 90 degrees, and I’m not sure why.

I didn’t trust myself just with pencil lines though, so I used blue tape on the board as well, that way I could just line up the tape on the ends. That ended up working pretty well.

After doing the first pass on the router, however, I realized that the bit I had used was way too small for the rod, so I was going to shift the back wall (which is used as a guide to get uniform distance on the cut, making the line parallel to the edge of the board), then recut. I ended up moving the wall too far, and cut way to much. There ended up being about an eighth of an inch of space, which is way too loose a fit. I was about to rage quit, but before I did, I decided to flip the design and make a second one; there was enough wood left, so why not.

The second one came out MUCH better than the first, and I decided to file down the edges to fit the rod instead of potentially ruining it like the first. Andrew walked over to the router to check on my progress at that point, and then he said that both slots were good, but needed to be about a quarter inch deeper. That surprised me because I was sure that I had measured the correct depth, but apparently not. the truss rod is weird though because of the way it has some sort of step thing. That is taller, but also raised up higher than the rest of the rod, so it makes measurements tricky.
I measured again, raised the bit, then did another pass on the router, and it ended up still not being deep enough. This happened several more times, and eventually, I realized that the board was pushing the bit back down. I realized this when doing a pass and suddenly I didn’t hear it cutting anymore. The machine sounds like a very loud vacuum cleaner when it’s cutting, so it’s very obvious when it stops cutting. When I stopped hearing it, I shut it off and lifted the board, and sure enough, the bit had been lowered so far below the table surface that the router was close to falling out of the mount and onto my feet! Turns out I didn’t secure it well enough after changing the bit earlier. The way the machine is mounted to the table is somewhat sketchy, as it was a DIY project, like a few of the bigger machines at Xerocraft; The machine has pegs sticking out of its cylindrical surface so that it acts like a screw, and when you “tighten” it, it raises the bit above the table. The part that it screws into, however is a plastic piece that has a bolt that must be perfectly tightened in order for the machine to not slip, which it wants to because of its direction of rotation combined with its weight. A++ design.
After I finally got the correct depth on both slots, I ended up having to chisel out the ends so that the rod would fit correctly…and then file them…and then sand them…and then chisel some more…and then sand again…and a few hours later I said screw it, I’ll do that stuff later. The next day, I came in and realized that the outlines of the neck were not square with the edge of the board. This was a problem because it meant that if I was to cut out the designs as they were, the truss rod slots would be running diagonally inside the neck, so I re-traced the design using the truss rod slots as guides rather than by using a square (a type of ruler). And then I was ready to cut the necks out on the band saw. I started out by cutting off an end of the board and using that as practice–I’m not used to using a band saw, especially not for curves like on the head stock. The saw I was using had a wide blade with few teeth, so it took a long time to cut, and because it took so long, it turned the edges a dark brown. While doing the headstock, I found that if a piece of wood you’ve just cut looks burned, it probably is, and is, in fact, very hot.

After I did the practice on the good band saw, Andrew saw that I was using that one, and he said I should use the one next to it because it had a much thinner blade. Well, as soon as I started using it, it made a loud whine and there was a periodic clanging from it–it was broken. The two of us spent the next hour and a half fixing it. The blade was misaligned, not properly tensioned, and not fed through either of its bearings. It was a pain to fix, and that was probably why it hadn’t been fixed yet. The other thing was that the piece of aluminum that guards the table from the blade was catching on the blade, so I had to file it down significantly in order for it to pass without catching. That saw ended up working way better than the “good” band saw. Separating the two necks had been tricky, as the designs were opposite directions to make the most out of my board, so I had to do weird turns to get the two of them apart. But even then, I was able to get the two necks cut out fairly quickly, with no burning of wood from this saw…but then I broke it again. (O-o)

The band slipped out of its track, so the wheels inside the machine were still turning, but the blade would no longer move. In the picture above, you can see where I switched back to the “good” band-saw; the “good” band-saw left burns, and the “bad” one left a nice, clean cut to the right. Cutting out the headstock was hard on the “good” band-saw because the blade was so wide; I couldn’t make turns as quickly, so I had to employ a different technique on that saw. This technique was very tedious. It breaks up curves into small segments of straight cuts, so in order to do that, you have to make several cuts that are perpendicular to the point on the curve that you want to cut, and then you cut each segment by joining the edge to the perpendicular cut you’ve just made. Somewhat like this:

That one above isn’t a super good example, as I made it harder by not having cuts perpendicular to the curve past the third cut from the left. I ended up leaving early from Xerocraft because Open Hack started, and it gets really awkward and makes me nervous when I have somebody waiting for me to finish a super long cut on a saw so that they can use it after me, standing over my shoulder and breathing down my neck. So I decided to come in early in the morning the next day. I was able to get the bulk of the work done that morning, but encountered a mad Xerocraft employee who did not like that I was there before noon, even though I’m a key-holder and the rest of the staff doesn’t mind me being there outside of normal hours, so I decided to leave early that day as well.
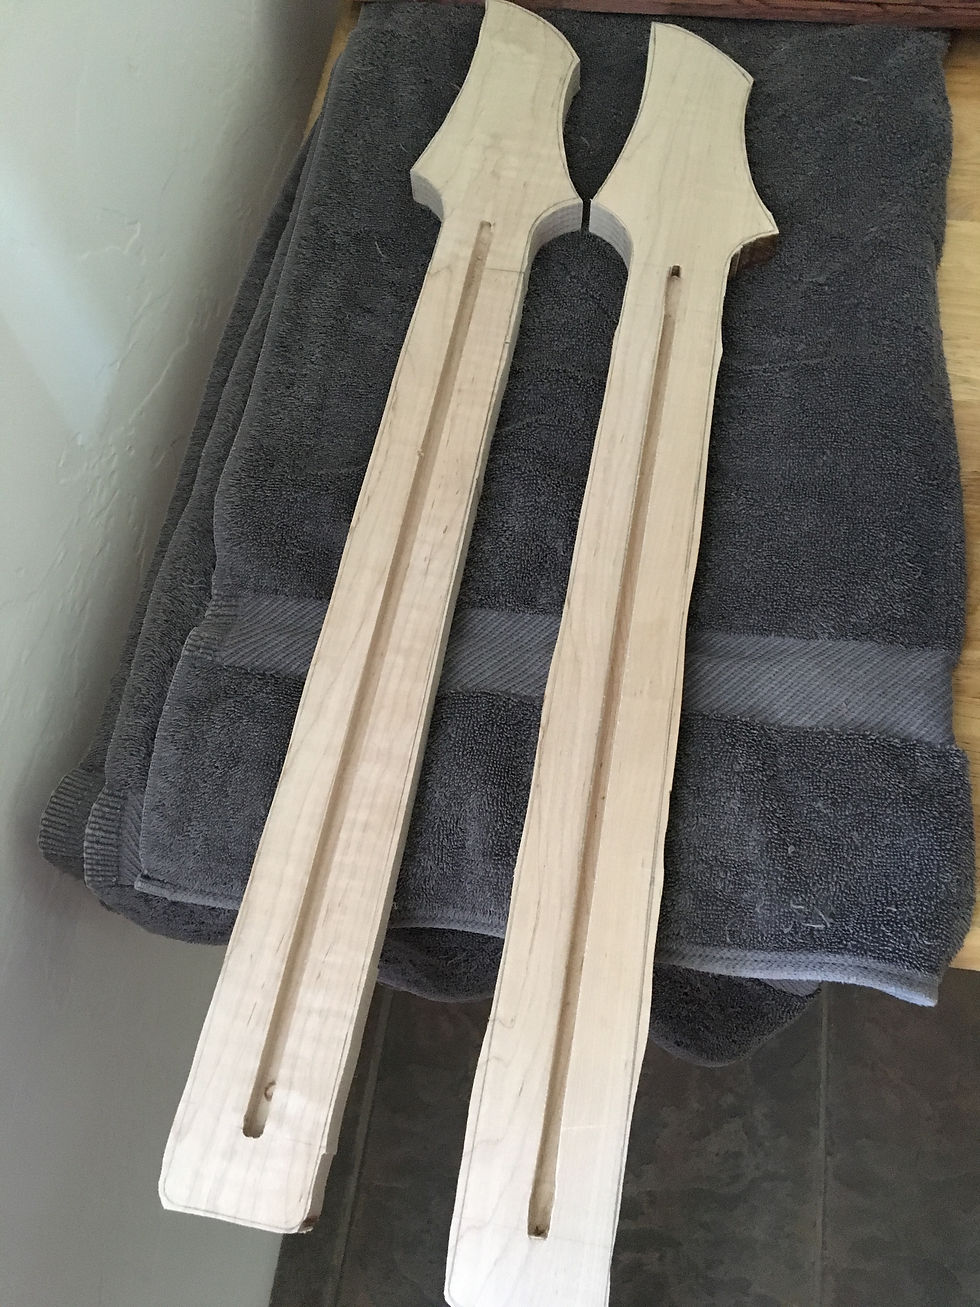
Both necks (one for the final thing, and one as a backup) are now cut out completely, but need to be routed with a template to get a smooth finish, and I need to make the fretboard. After that, some sculpting on the headstock and neck are required, and then I will finally be done with the neck, and can move on to the body, which should be a much faster process, as I’m planning to CNC route it. That will take out most of the work in just a couple hours, so hopefully I will have the assembled guitar by mid-April. However, with that one Xerocraft employee being mad at me, I’m afraid to go there outside of the normal member hours anymore, so I’m not sure how quickly I’ll get the neck completed. I’ll have to speak with Andrew about it and go from there. Anyways, that’s all for now!


Comments